SUBSCRIBE TO THE NEWSLETTER
Receive updates about our latest products, application reports and white papers - right in your e-mail inbox!
Conditions
UP processing machines are used when the highest demands are required in terms of shape accuracy and surface quality during machining - these are typically well below 1 µm. Industries such as the chip industry, medical technology or manufacturers of optical devices are examples of such industries.
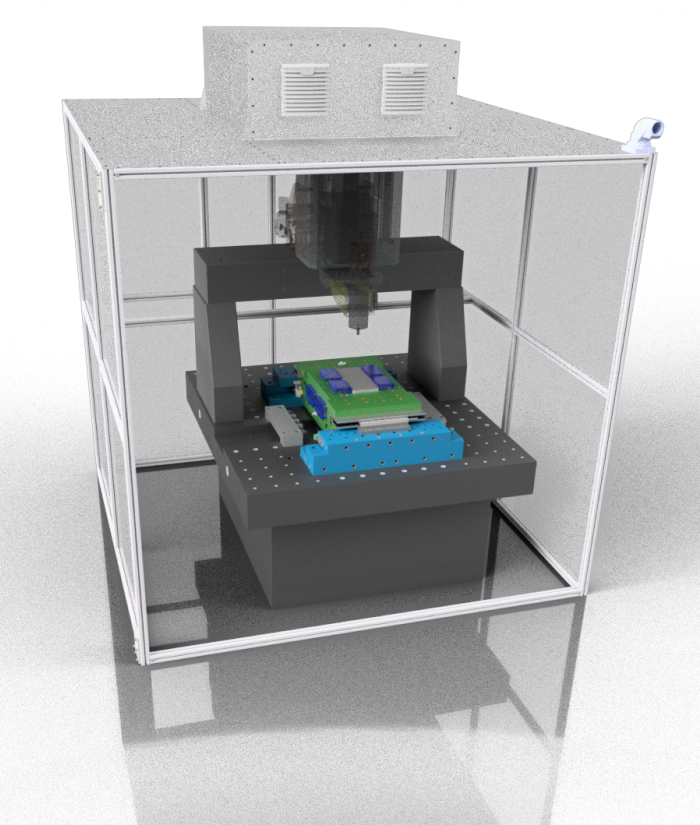
To research guidance and control technologies in the field of ultra-precision machining, we have adapted and optimized an existing test bench from the IFW at LUH. The modifications were based on knowledge gained during the previous operation of the test system, which revealed a number of deficits in the existing design.
Design
After specifying the requirements and in close consultation with the customer, significant changes and new designs were ultimately necessary, whereby care was taken to continue using components that still proved suitable. In the course of the revision of the 3-axis test bench, our main task, in addition to a sealed and secured enclosure for the entire system, was the cross table, which has to realize the high-precision movement in the X and Y directions.
In order to be able to research different types of guide systems for the UP area, the structure of the axes is designed in such a way that the movement in the X direction is represented by a magnetically mounted slide and in the Y direction by a hydrostatically mounted slide.
The hydrostatic Y-axis was designed from scratch and replaces a previously used aerostatic bearing; due to the "box in box" design, the Y-slide is also the connecting structure for the magnetic bearings of the X-axis running in it.
A magnetically mounted carriage was already used in the original test stand; however, we modified the design in accordance with customer requirements so that its position can now be detected by a new type of optical 6D measuring system. In addition, the magnets were retrofitted with a cooling system and a new fastening system, which increased the accuracy during operation and significantly improved the ease of replacement and adjustment during an overhaul.
By redesigning the cross table, it was also possible to reduce the masses of the two slides and optimize the centre of gravity relative to the drive, bearing and measuring system, resulting in better dynamics and controllability.
Result
In order to meet the general requirements of a processing machine in the ultra-precision area and to minimize undesirable side effects, especially in research projects in this area, attention was paid to the use of suitable materials in addition to classic precision design principles. For example, in addition to the structural parts made of hard stone, special materials were also used for the measuring systems and magnetic bearings.

OTHER ARTICLES
#EFRE, #Funding, #Europäischer Fond für Regionale Entwicklung, #Land Niedersachsen, #Fast Metal Deposition Welding, #Mobile Industrial Robot, #SMARt
#Land Niedersachsen, #EFRE, #Europäischer Fond für Regionale Entwicklung, #SMARt, #Fast Metal Deposition Welding, #Mobile Industrial Robot


.png)
%20Nr%20018.jpg)
